


Online Communities

OR

ADHD in the News 2025-04-17
April 17, 2025Have We Been Thinking About A.D.H.D. All Wrong?
Understanding A.D.H.D.
5 Takeaways From New Research About A.D.H.D.
ViewADHD Weekly, April 17, 2025
April 16, 2025Could a Body Double Help You Increase Your Productivity?
When Balancing Social Media Use Becomes a Challenge
View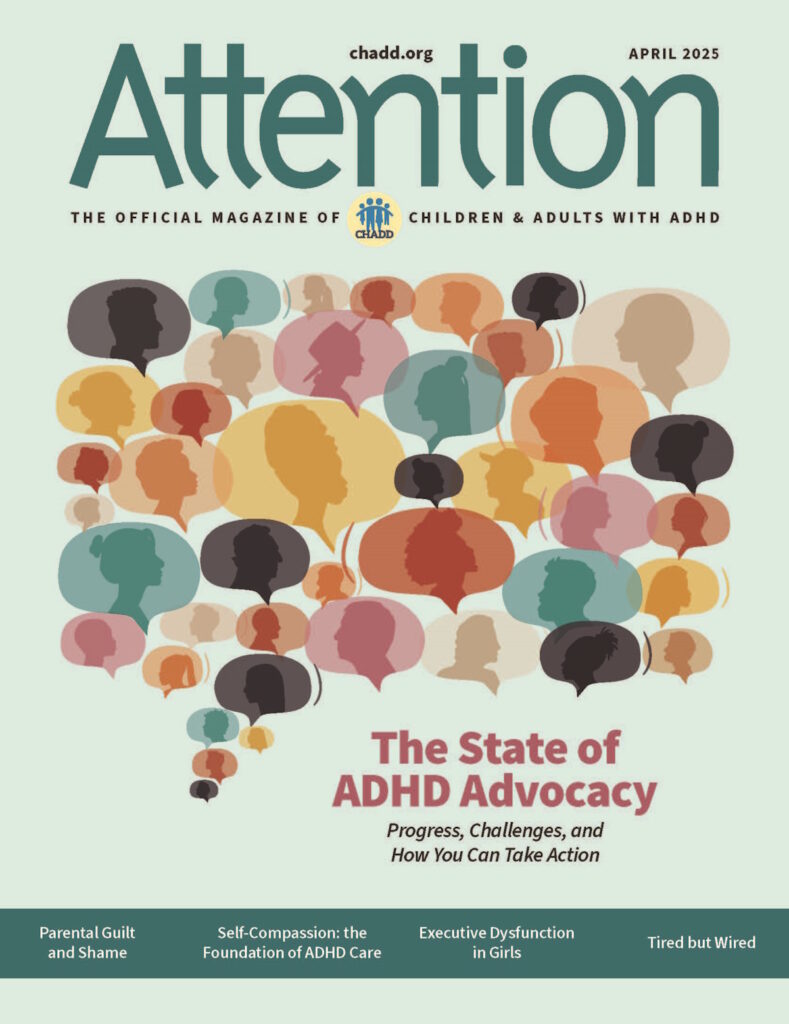
Attention Magazine
Recognized for its excellence, CHADD’s bimonthly magazine is rich in practical information, clinical insights, and evidence-based strategies for managing ADHD.
LEARN MORE